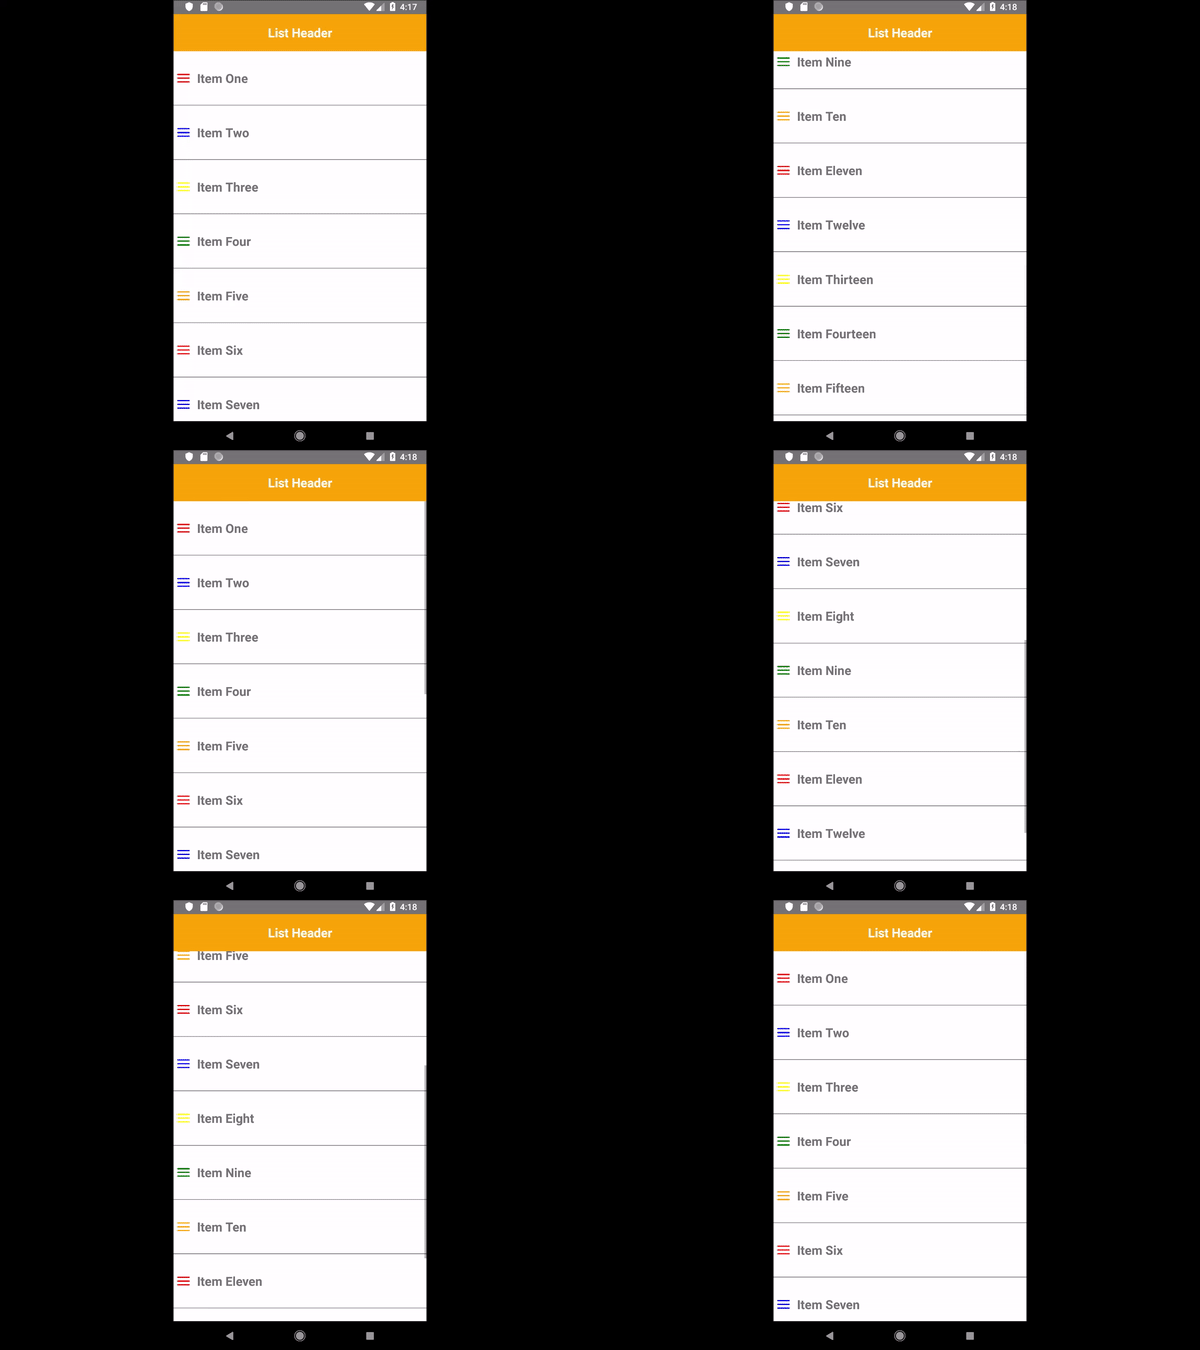
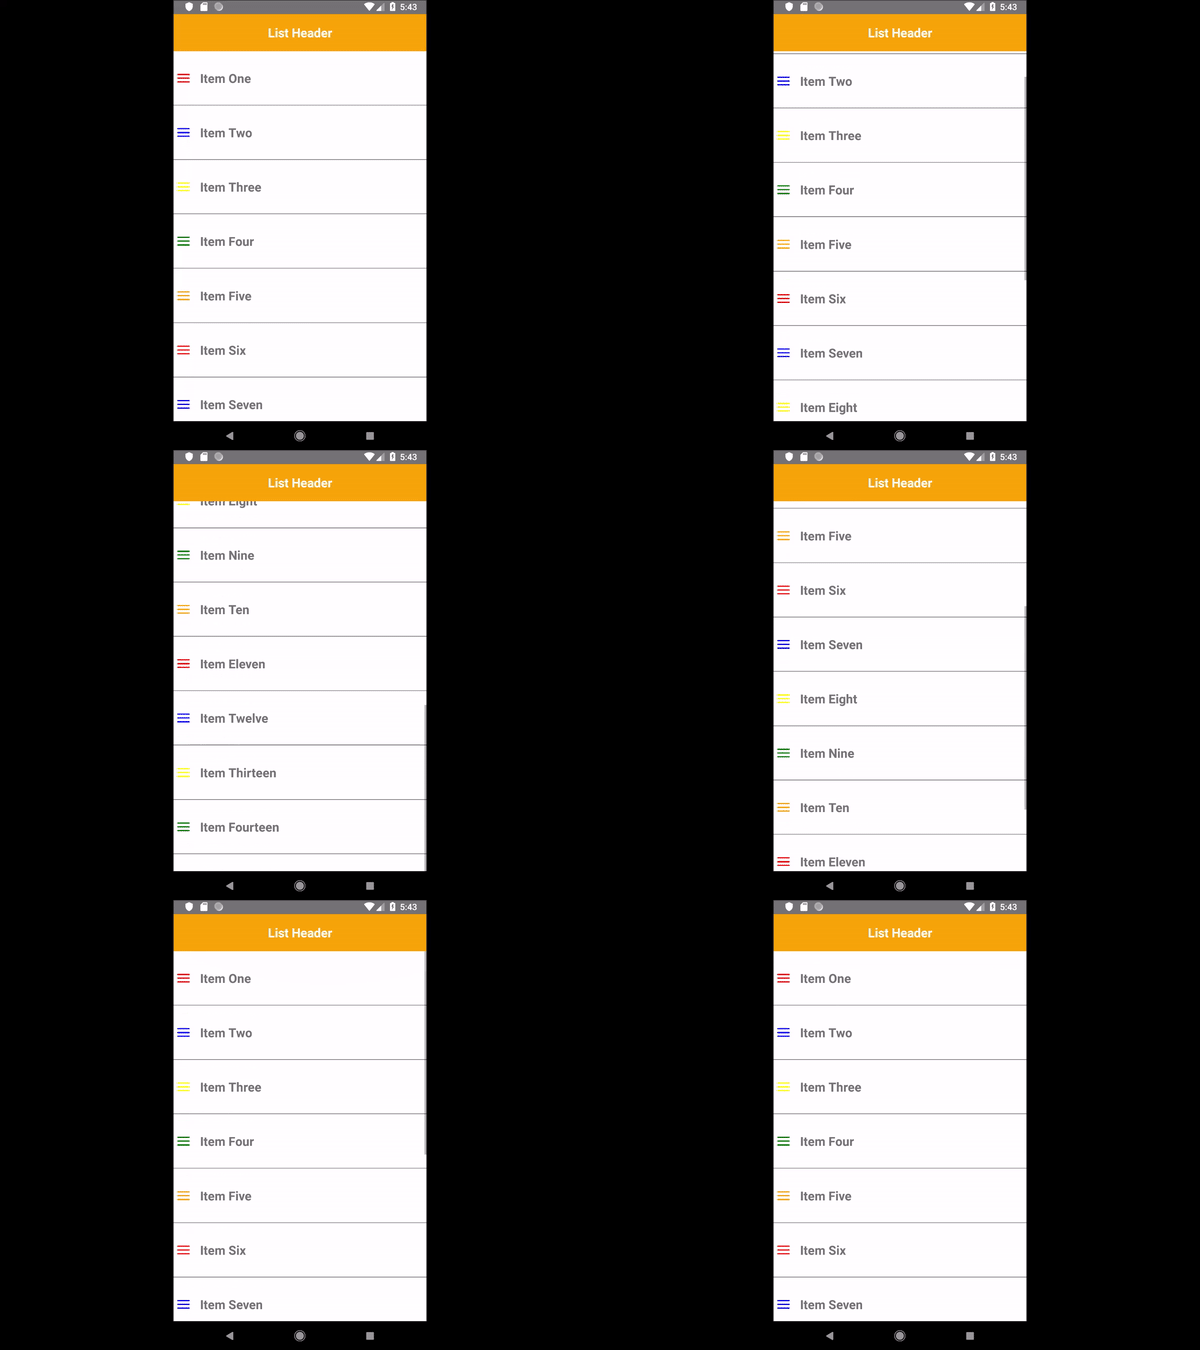
Ok, chcemy wyświetlić listę elementów w React Native. Możemy to zrobić na kilka sposobów, tutaj przedstawione zostaną dwa – ScrollView i FlatList.
ScrollView to komponent, który powinien posiadać ograniczoną wysokość (ustawioną np. poprzez ustawienie parametru {flex: 1} ). Renderuje on wszystkie swoje dzieci na raz, co przy ich dużej ilości sprawia, że aplikacja wolniej się ładuje. Może to rodzić problemy z wydajnością, ponieważ aplikacja musi zaczekać na wyrenderowanie wszystkich komponentów – dzieci zanim wyświetli je na ekranie. Komponent ScrollView jest więc odpowiedni dla mniejszych list.
Większe listy lepiej jest renderować za pomocą komponentu FlatList, który ładuje tylko część komponentów – dzieci (tzw. leniwe ładowanie), przede wszystkich tych, które aktualnie widoczne są na ekranie. Podczas scrollowania FlatLista ładuje nowe komponenty i usuwa te, które nie są już widoczne. Poza tym oferuje jeszcze szereg innych funkcjonalności, których nie oferuje ScrollView, ich listę znajdziesz tu: Flatlist
Stwórzmy teraz nowy folder o nazwie: components, a w nim dwa komponenty: pierwszy zawierać będzie naszą listę: List.js, a drugi dane, które lista powinna wyświetlać: Data.js.
Komponent App.js powinien zwracać nasz główny komponent z listą, kod będzie zatem bardzo prosty:
App.js:
 import React, {Component} from 'react';
 import List from './components/List';

 export default class App extends Component {
   render() {
   return  <List />
 }};
Natomiast nasze dane wyglądać będą tak:
Data.js:
export default Data = [
    {id: 1, text: 'Item One', color: 'red'},
    {id: 2, text: 'Item Two', color: 'blue'},
    {id: 3, text: 'Item Three', color: 'yellow'},
    {id: 4, text: 'Item Four', color: 'green'},
    {id: 5, text: 'Item Five', color: 'orange'},
    {id: 6, text: 'Item Six', color: 'red'},
    {id: 7, text: 'Item Seven', color: 'blue'},
    {id: 8, text: 'Item Eight', color: 'yellow'},
    {id: 9, text: 'Item Nine', color: 'green'},
    {id: 10, text: 'Item Ten', color: 'orange'},
    {id: 11, text: 'Item Eleven', color: 'red'},
    {id: 12, text: 'Item Twelve', color: 'blue'},
    {id: 13, text: 'Item Thirteen', color: 'yellow'},
    {id: 14, text: 'Item Fourteen', color: 'green'},
    {id: 15, text: 'Item Fifteen', color: 'orange'},
]
React Native ScrollView

Zaczniemy od komponentu List.js. Aby wyświetlić dane w postaci listy za pomocą ScrollView musimy importować kilka komponentów z react-native. i wyrenderować je na ekranie:
List.js:
import React, {Component} from 'react';
import {StyleSheet, Text, View, ScrollView } from 'react-native';
import Data from './Data';

export default class List extends Component {
    render() {
        return (
            <View style={styles.contentContainer}>
                <View style={styles.header}>
                    <Text style={styles.headerText}> List Header </Text>
                </View>
                <ScrollView >
                    <View>
                        {item}
                    </View>
                </ScrollView>
            </View>
        )
    }
};
Powyżej zwracamy nagłówek, zawierający tekst, a pod nim komponent ScrollView, zawierający komponenty-dzieci, które możemy scrollować. Komonenty-dzieci zwracać będziemy z komponentu Data.js
const item = Data.map( (item, index) => {
           return <View key={item.id} style={styles.item}>
                    <View style={styles.marginLeft}>
                        <View style={[styles.menu, { backgroundColor: item.color }]}></View>
                        <View style={[styles.menu, { backgroundColor: item.color }]}></View>
                        <View style={[styles.menu, { backgroundColor: item.color }]}></View>
                    </View>
                    <Text style={styles.text}>{item.text} </Text>
                  </View>
        })
Na koniec dołożymy style:
const styles = StyleSheet.create({
    header: {
        height: 60,
        backgroundColor: 'orange',
        alignItems: 'center',
        justifyContent: 'center',
    },
    headerText: {
        fontSize: 20,
        fontWeight: 'bold',
        color: 'white',
    },
    contentContainer: {
        backgroundColor: 'white',
    },
    item: {
        flexDirection: 'row',
        borderBottomWidth: 1,
        borderBottomColor: 'grey',
        alignItems: 'center',
    },
    marginLeft: {
        marginLeft: 5,
    },
    menu: {
        width: 20,
        height: 2,
        backgroundColor: '#111',
        margin: 2,
        borderRadius: 3,
    },
    text: {
        marginVertical: 30,
        fontSize: 20,
        fontWeight: 'bold',
        marginLeft: 10
,    }
})
Całość będzie wyglądać tak:
List.js:
import React, {Component} from 'react';
import {StyleSheet, Text, View, ScrollView } from 'react-native';
import Data from './Data';

export default class List extends Component {
    render() {
        const item = Data.map( (item, index) => {
           return <View key={item.id} style={styles.item}>
                    <View style={styles.marginLeft}>
                        <View style={[styles.menu, { backgroundColor: item.color }]}></View>
                        <View style={[styles.menu, { backgroundColor: item.color }]}></View>
                        <View style={[styles.menu, { backgroundColor: item.color }]}></View>
                    </View>
                    <Text style={styles.text}>{item.text} </Text>
                  </View>
        })
        return (
            <View style={styles.contentContainer}>
                <View style={styles.header}>
                    <Text style={styles.headerText}> List Header </Text>
                </View>
                <ScrollView >
                    <View>
                        {item}
                    </View>
                </ScrollView>
            </View>
        )
    }
};

const styles = StyleSheet.create({
    header: {
        height: 60,
        backgroundColor: 'orange',
        alignItems: 'center',
        justifyContent: 'center',
    },
    headerText: {
        fontSize: 20,
        fontWeight: 'bold',
        color: 'white',
    },
    contentContainer: {
        backgroundColor: 'white',
    },
    item: {
        flexDirection: 'row',
        borderBottomWidth: 1,
        borderBottomColor: 'grey',
        alignItems: 'center',
    },
    marginLeft: {
        marginLeft: 5,
    },
    menu: {
        width: 20,
        height: 2,
        backgroundColor: '#111',
        margin: 2,
        borderRadius: 3,
    },
    text: {
        marginVertical: 30,
        fontSize: 20,
        fontWeight: 'bold',
        marginLeft: 10
,    }
})
React Native FlatList Example
Czas na kolejną listę. Tym razem zamiast ScrollView użyjemy komponentu Flatlist. W tym wypadku nie ma potrzeby samodzielnego mapowania danych, flatlista zrobi to za nas. Dane odczytane zostaną z właściwości data. Podobnie jak w przypadku ScrollView, we flatliście każde dziecko powinno być oznaczone innym kluczem. Możemy w tym celu użyć właściwości keyExtractor, która przyporządkuje odpowiedni klucz do dziecka. Klucz ten powinien być podany w stringu. Funkcja renderItem wyrenderuje komponenty-dzieci według podanego przez nas schematu. Komponent List.js będzie zatem wyglądał tak:
List.js
import React, {Component} from 'react';
import {StyleSheet, Text, View, FlatList } from 'react-native';
import Data from './Data';

export default class List extends Component {

    renderItem = ({item}) => (
        <View style={styles.item}>
            <View style={styles.marginLeft}>
                <View style={[styles.menu, { backgroundColor: item.color }]}></View>
                <View style={[styles.menu, { backgroundColor: item.color }]}></View>
                <View style={[styles.menu, { backgroundColor: item.color }]}></View>
            </View>
            <Text style={styles.text}> {item.text} </Text>
        </View>
    )

    render() {
        return (
            <View style={styles.contentContainer}>
                <View style={styles.header}>
                    <Text style={styles.headerText}> List Header </Text>
                </View>
                <FlatList
                    data={Data}
                    keyExtractor={(item) => item.id.toString()}
                    renderItem={this.renderItem}
                />
            </View>
        )
    }
};

const styles = StyleSheet.create({
    header: {
        height: 60,
        backgroundColor: 'orange',
        alignItems: 'center',
        justifyContent: 'center',
    },
    headerText: {
        fontSize: 20,
        fontWeight: 'bold',
        color: 'white',
    },
    contentContainer: {
        backgroundColor: 'white',
    },
    item: {
        flexDirection: 'row',
        borderBottomWidth: 1,
        borderBottomColor: 'grey',
        alignItems: 'center',
    },
    marginLeft: {
        marginLeft: 5,
    },
    menu: {
        width: 20,
        height: 2,
        backgroundColor: '#111',
        margin: 2,
        borderRadius: 3,
    },
    text: {
        marginVertical: 30,
        fontSize: 20,
        fontWeight: 'bold',
        marginLeft: 10
,    }
})
Efekt uzyskujemy podobny, jak we wcześniejszym przypadku, ale funkcjonalność jest trochę inna (o czym wspomniałam na wstępie), dla przypomnienia – flatlista nie renderuje wszystkich komponentów-dzieci na raz, a ScrollView tak.
