Table of content
To edit the list, we need … a list 🙂 If you want to learn how to create a task list, see this post: Renering list in React Native
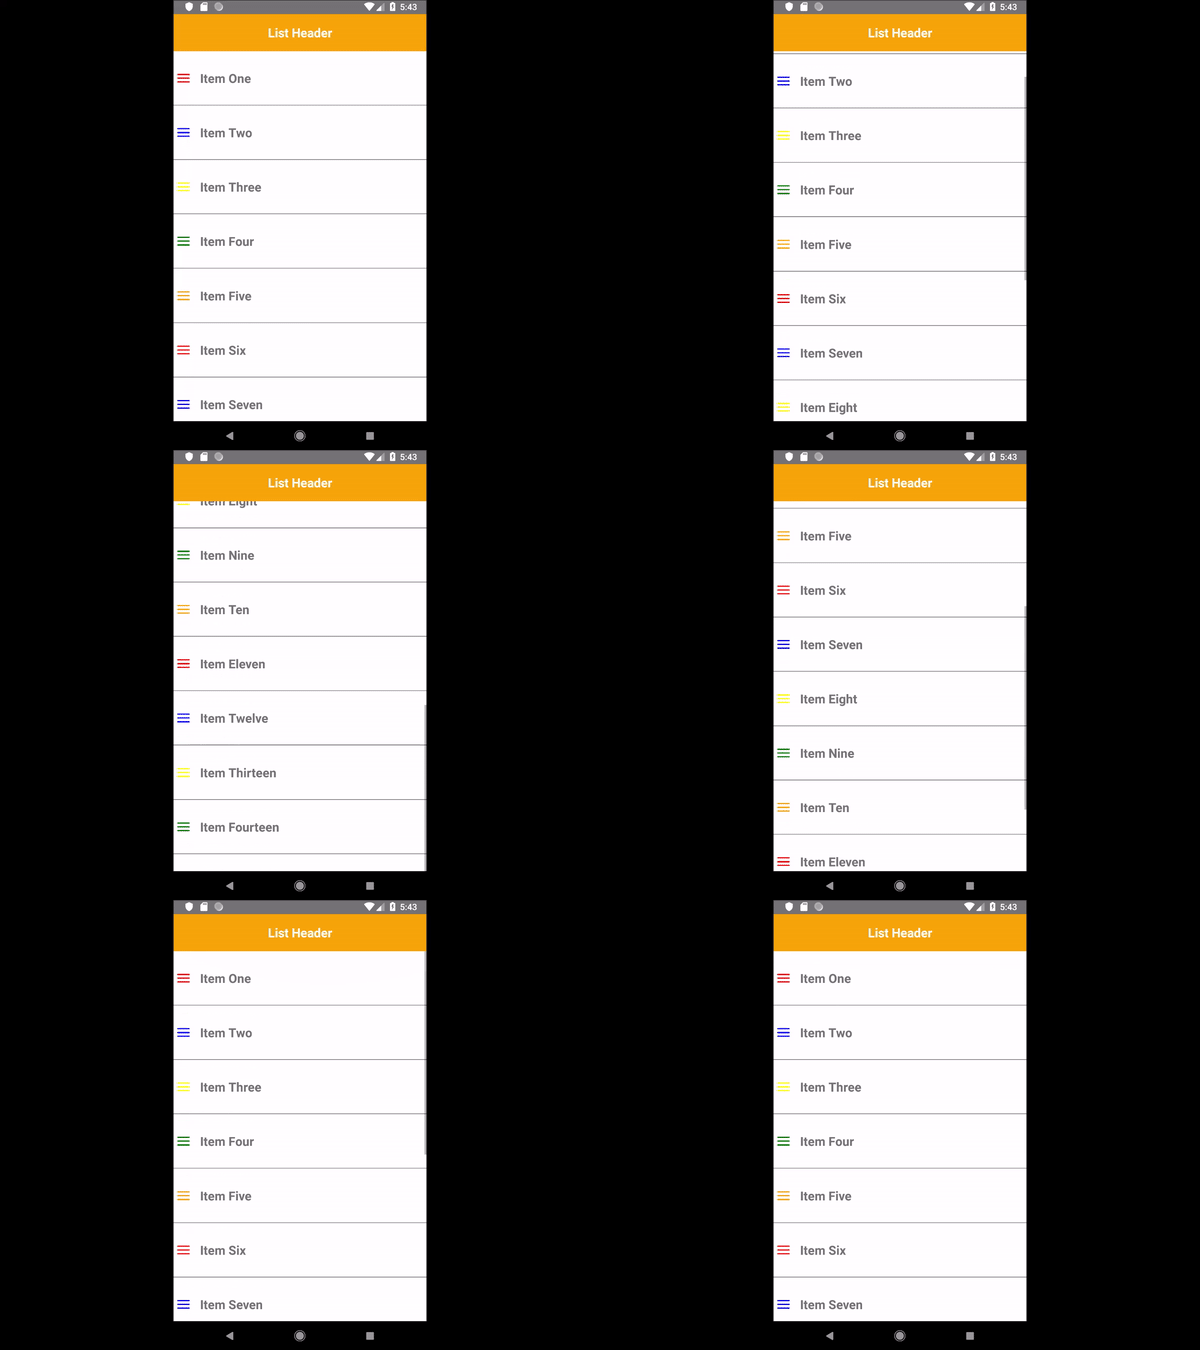
Our task list from the above post looks like this:
As a reminder, the list code:
Data.js:
List.js:
How to edit item data in a List ?
If we are editing data in a task list, then changes that we made must be immediately displayed in on list. For this purpose, we use state of the component, which contains data displayed in FlatList and which refresh our component every time when data has changed. That’s why we pass the data from the Data.js file to the state of the List.js component and from there our list will read them.
List.js:
After clicking on a specific task, we would like to appear a new window, in which we can edit the content. Therefore, we will add a clickable element to each element of the list, which will open such a window (the Modal component will be useful here – see the entry: React Native modal example
In the Modal component we add the TextInput component, in which we display the content of the clicked task, which can be changed. After pressing the Save button, new content will be saved to the state, which will refresh the list view.
We must make a few changes in our code:
List.js:
import React, {Component} from 'react';
import {StyleSheet, Text, View, FlatList,  TextInput, Modal, TouchableHighlight  } from 'react-native';
import Data from './Data';

export default class List extends Component {
    constructor(props) {
        super(props);
        this.initData = Data
        this.state = {
            data: this.initData,
      isModalVisible: false,
            inputText: '',
            editedItem: 0,
        };
    }

    setModalVisible = (bool) => {
        this.setState({ isModalVisible: bool })
    }

    setInputText = (text) => {
        this.setState({ inputText: text })
    }

    setEditedItem = (id) => {
        this.setState({ editedItem: id })
    }

    handleEditItem = (editedItem) => {
        const newData = this.state.data.map( item => {
            if (item.id === editedItem ) {
                item.text = this.state.inputText
                return item
            }
            return item
        })
        this.setState({ data: newData })
    }

    renderItem = ({item}) => (
        <TouchableHighlight onPress={() => {this.setModalVisible(true); this.setInputText(item.text), this.setEditedItem(item.id)}}
            underlayColor={'#f1f1f1'}>
            <View style={styles.item} >
                <View style={styles.marginLeft}>
                    <View style={[styles.menu, { backgroundColor: item.color }]}></View>
                    <View style={[styles.menu, { backgroundColor: item.color }]}></View>
                    <View style={[styles.menu, { backgroundColor: item.color }]}></View>
                </View>
                <Text style={styles.text}> {item.text} </Text>
            </View>
        </TouchableHighlight>
    )

    render() {
        return (
            <View style={styles.contentContainer}>
                <View style={styles.header}>
                    <Text style={styles.headerText}> List Header </Text>
                </View>
                <FlatList
                    data={this.state.data}
                    keyExtractor={(item) => item.id.toString()}
                    renderItem={this.renderItem}
                />
                <Modal animationType="fade" visible={this.state.isModalVisible}
                    onRequestClose={() => this.setModalVisible(false)}>
                    <View style={styles.modalView}>
                        <Text style={styles.text}>Change text:</Text>
                        <TextInput
                            style={styles.textInput}
                            onChangeText={(text) => {this.setState({inputText: text}); console.log('state ', this.state.inputText)}}
                            defaultValue={this.state.inputText}
                            editable = {true}
                            multiline = {false}
                            maxLength = {200}
                        />
                        <TouchableHighlight onPress={() => {this.handleEditItem(this.state.editedItem); this.setModalVisible(false)}}
                            style={[styles.touchableHighlight, {backgroundColor: 'orange'}]} underlayColor={'#f1f1f1'}>
                            <Text style={styles.text}>Save</Text>
                        </TouchableHighlight>
                    </View>
                </Modal>
            </View>
        )
    }
};

const styles = StyleSheet.create({
    header: {
        height: 60,
        backgroundColor: 'orange',
        alignItems: 'center',
        justifyContent: 'center',
    },
    headerText: {
        fontSize: 20,
        fontWeight: 'bold',
        color: 'white',
    },
    contentContainer: {
        backgroundColor: 'white',
    },
    item: {
        flexDirection: 'row',
        borderBottomWidth: 1,
        borderBottomColor: 'grey',
        alignItems: 'center',
    },
    marginLeft: {
        marginLeft: 5,
    },
    menu: {
        width: 20,
        height: 2,
        backgroundColor: '#111',
        margin: 2,
        borderRadius: 3,
    },
    text: {
        marginVertical: 30,
        fontSize: 20,
        fontWeight: 'bold',
        marginLeft: 10,
    },

    textInput: {
        width: '90%',
        marginLeft: 10,
        marginRight: 10,
        marginBottom: 30,
        borderColor: 'gray',
        borderBottomWidth: 2,
        fontSize: 16,
    },
    modalView: {
        flex: 1,
        backgroundColor: 'white',
        alignItems: 'center',
        justifyContent: 'center',
    },
    touchableHighlight: {
        backgroundColor: 'white',
        marginVertical: 10,
        alignSelf: 'stretch',
        alignItems: 'center',
    }
})
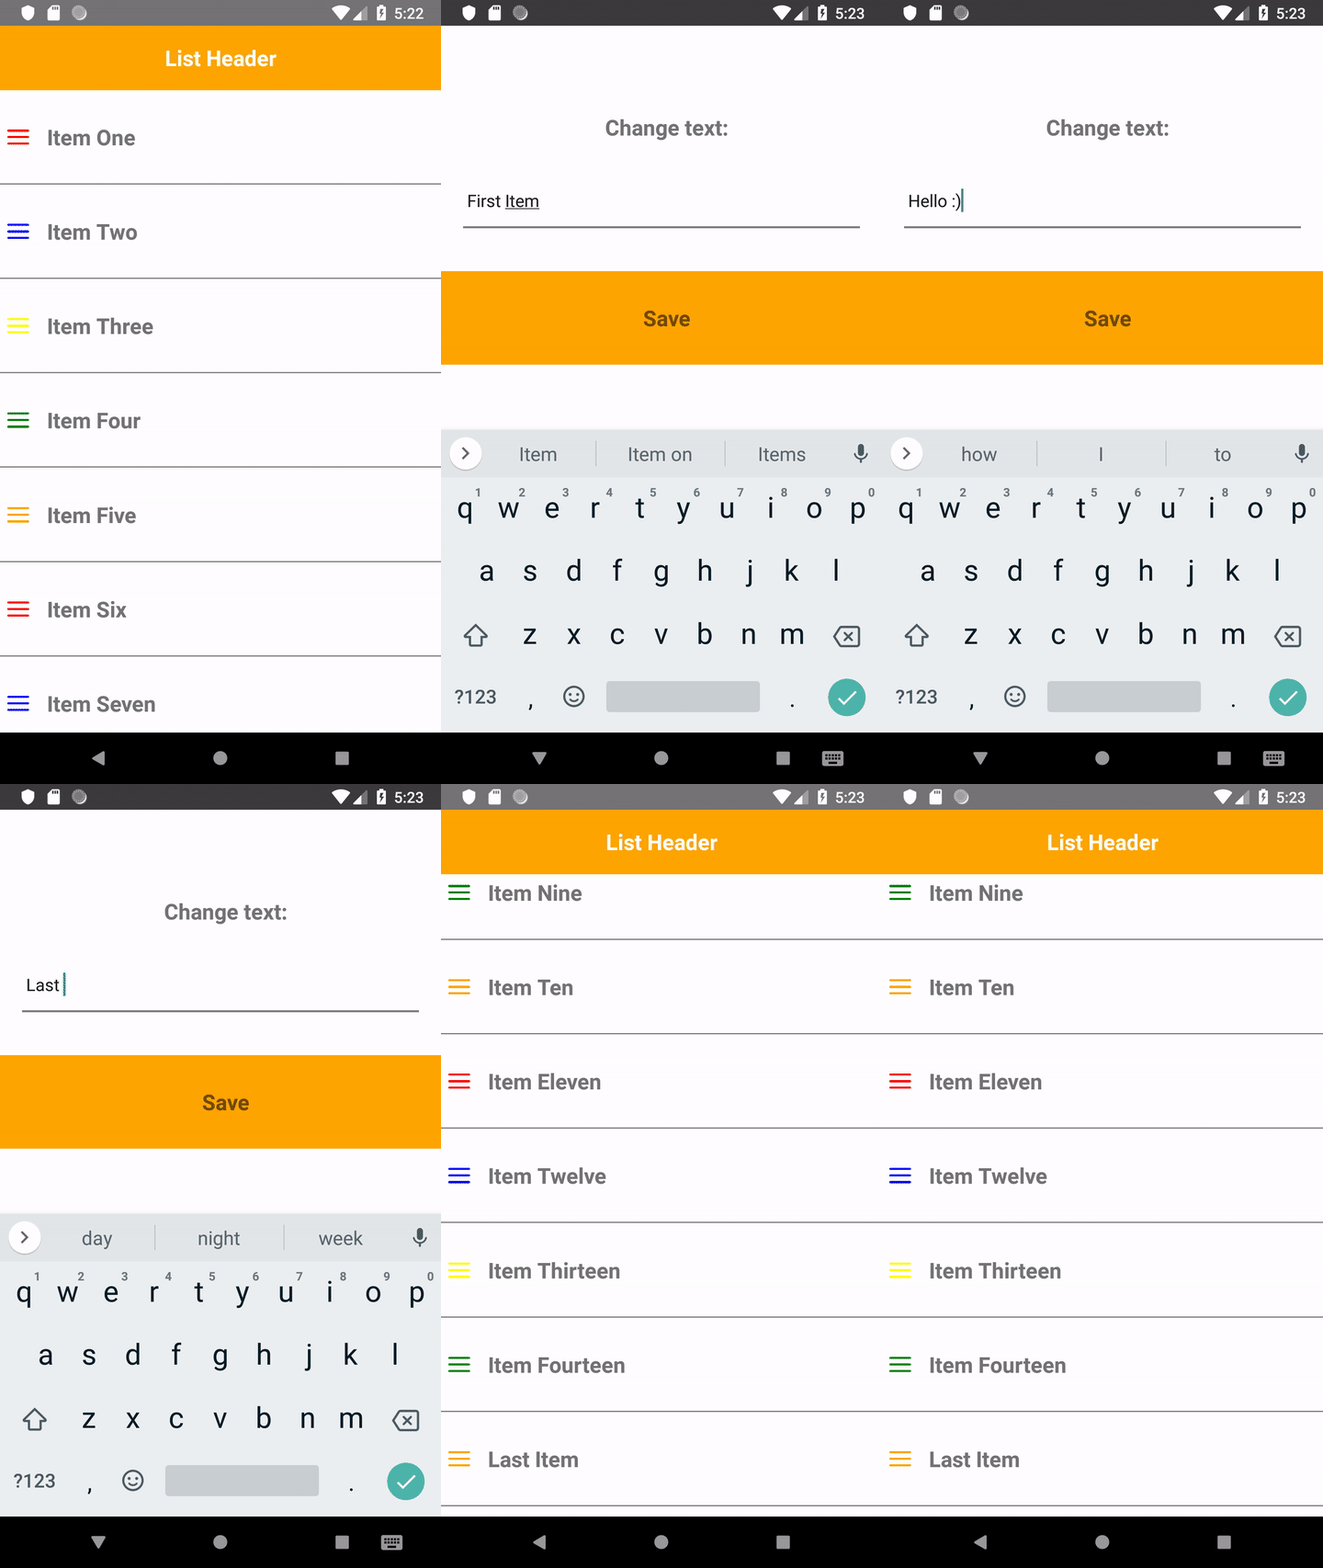
Now the list is ediatble and we can change content of every task:
Well, but data saved to the state disappear when we unmounting the component or closing the application, so what can we do to make application to remember data permanently? You will learn this from the next post: React Native persist data. Saving and reading data from AsyncStorage


